The email functionality in WordPress is quite limited. By default, emails are sent in plain text format using the native PHP mail function, which often results in ending up in the recipient’s spam folder.
In this guide, I’ll show you how to send these messages using a WordPress email template, without needing an additional plugin.
What are your options?
First, to send emails via SMTP, you’ll need to install a plugin. This feature significantly reduces the chance of your emails being marked as spam. The WordPress plugin repository offers several SMTP plugins to achieve this. Which SMTP plugin we use is part of this guide.
For styling the default emails, you can install an additional plugin. However, in my experience, these email template plugins are often limited in design options.
But there’s a better alternative. For some time now, we’ve been using Maileroo, a system for sending emails. Along with a super-fast SMTP service, it offers an email template feature. With this, you can design emails the same way as newsletter emails and link a template directly to your WordPress email functionality.
Here’s a step-by-step explanation of how to set it up.
Creating an email template in Maileroo
Don’t have a Maileroo account yet? Start with a free account, which allows you to send 5,000 emails per month and includes (almost) all the features available in a paid account, including the email template functionality.
To create an email template, navigate to SMTP Relay > Templates > Create template. Enter a descriptive name and click the button in the pop-up. Then click “Edit” on the template box that just appeared.

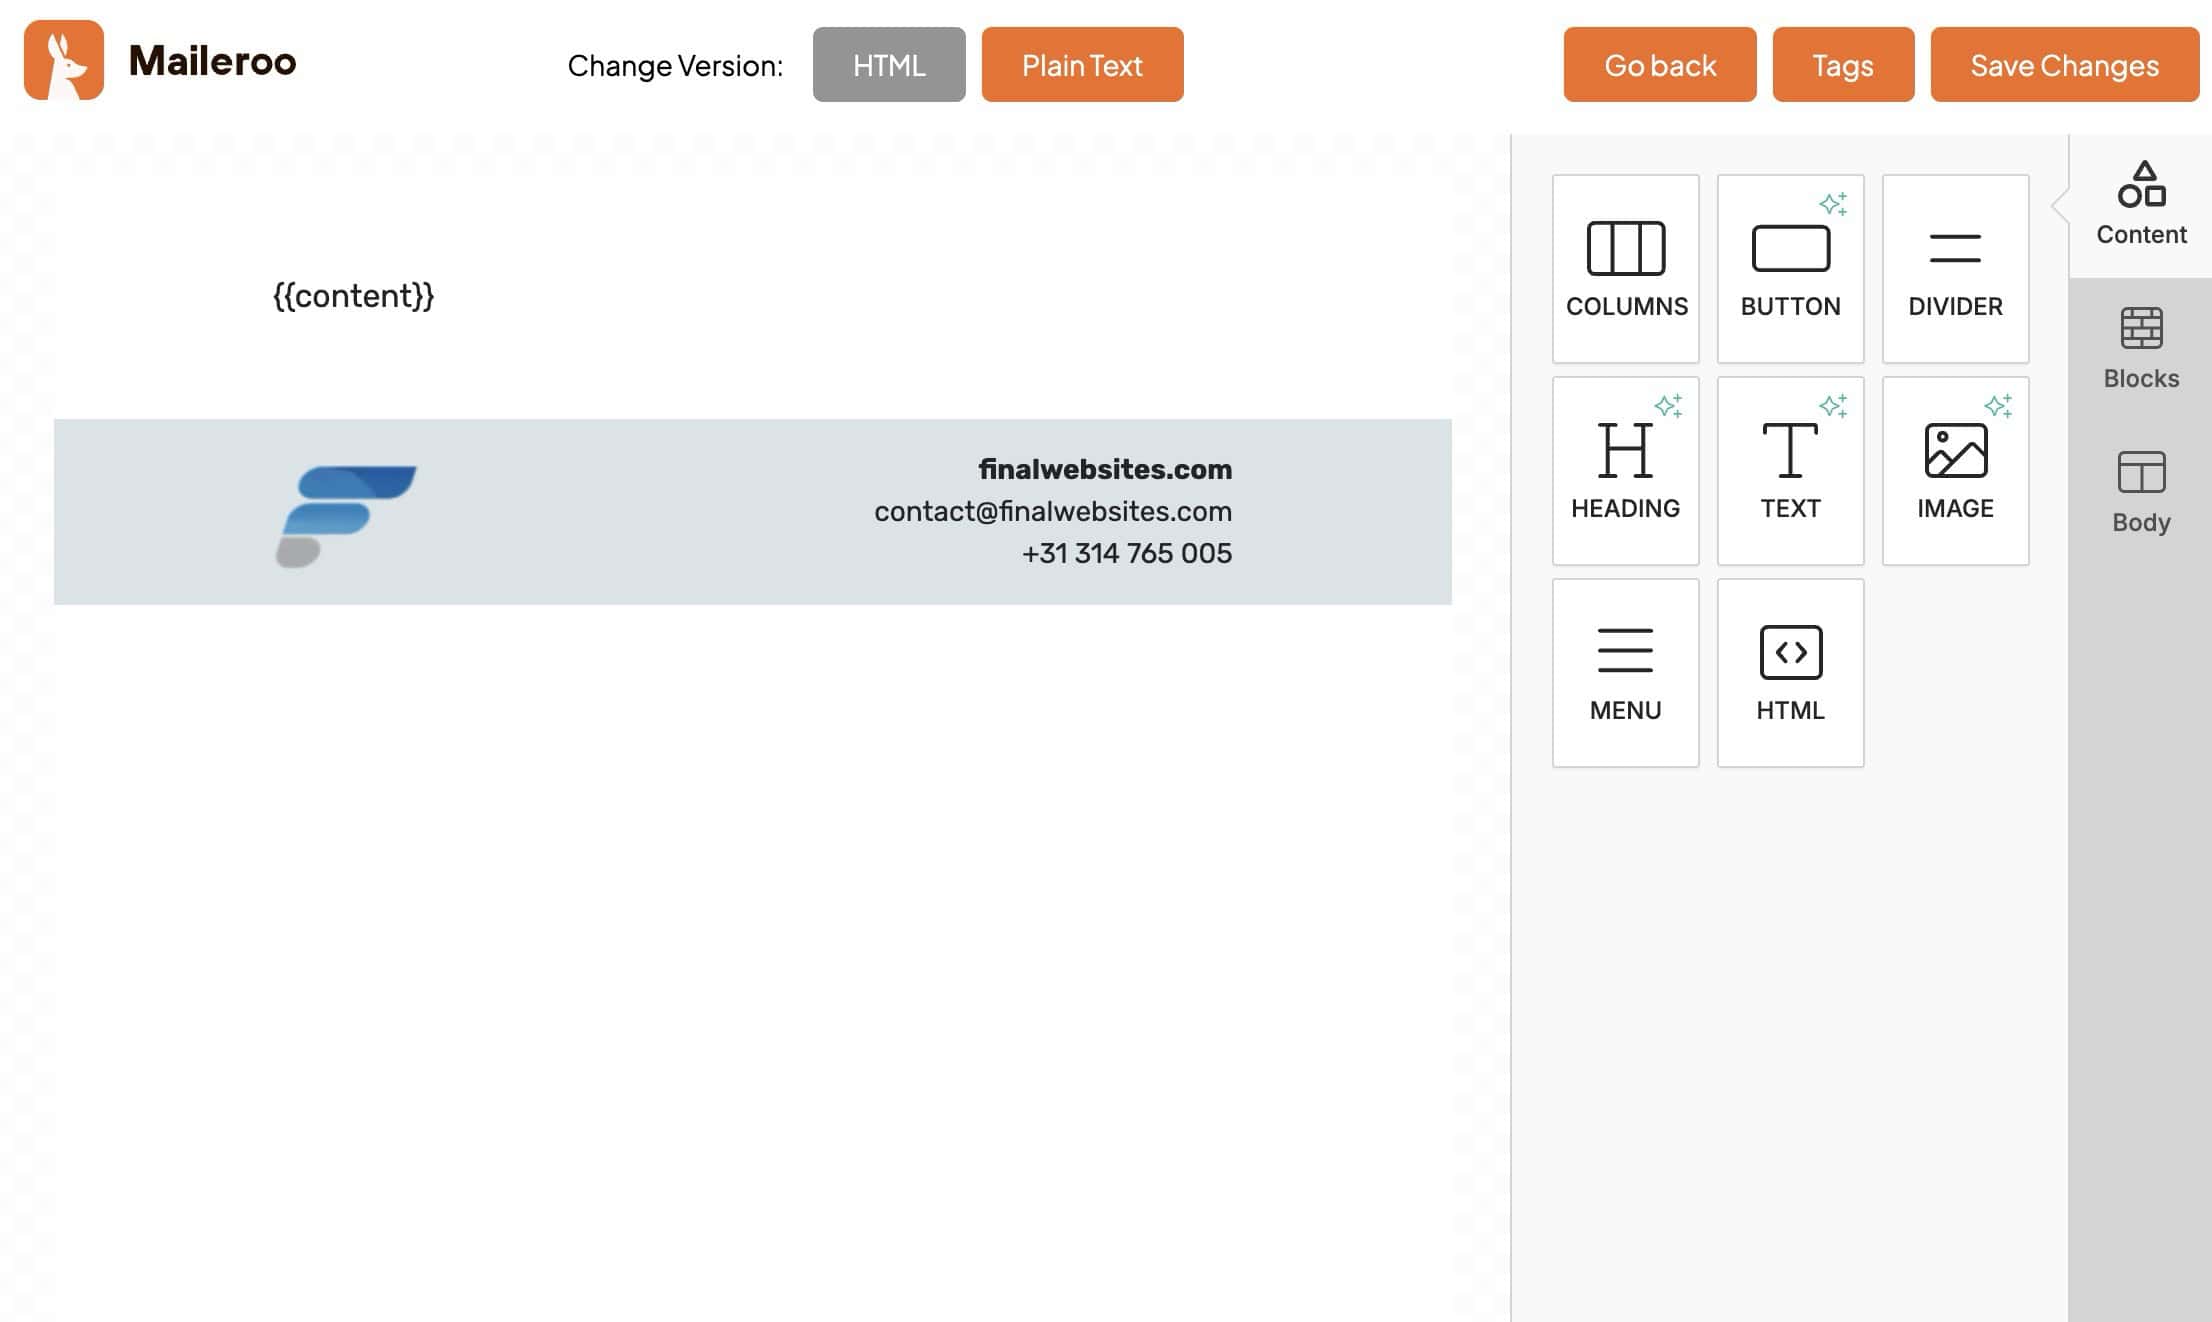
Email template created with Maileroo
From this screen, you can add various sections, images, and text. Drag an additional “TEXT” widget into your template. This is used for the content coming from WordPress. In the area where the WordPress content should appear, enter {{content}}. Once you’re satisfied with your template, click “Save changes” and then “Go back.”
Pro Tip: At the bottom left, you’ll find two buttons to switch between desktop and mobile views. Don’t forget to optimize your template for mobile devices as well.
Back on the templates screen, you’ll see your email template box, now displaying a preview of your design. Take note of the template ID displayed under the name of your template. You’ll need it later for your WordPress integration.
Connecting your WordPress site to Maileroo
To integrate WordPress with Maileroo, the company provides its own plugin. This plugin ensures your emails are sent via Maileroo’s SMTP servers or the API. For the email template feature, we’ll use the API.
Configuring your domain
To send emails with Maileroo, you’ll first need to verify your domain in Maileroo. Go to Domains > Add domain, enter your domain name, and click the button below. The next screen displays several DNS records. For sending emails via Maileroo, only the first two are important.
The first record is the SPF record. Chances are you already use one. Simply add include:_spf.maileroo.com to your existing SPF record. If you don’t have an SPF record yet, create a new one using the full value displayed on the screen.
The second record is the DKIM record, which must always be added.
Optionally, you can add the “click” record listed at the bottom to your DNS zone.
Important: Incorrect changes to your domain’s DNS zone can disrupt other services linked to your domain. If you’re unfamiliar with managing DNS, consult your hosting provider or web developer.
Once you’ve added all the DNS records, click “Verify DNS records” at the top of the page. Maileroo will check your DNS settings, and upon success, activate your domain. You’ll also receive an email notification.
Maileroo Sending Key
On the Maileroo plugin settings screen, select the “Maileroo API” option. You’ll need to enter a Sending Key here. Create one in Maileroo via Sending > Sending keys > New Sending Key. Provide a reference name and click the button below. Copy the key code and paste it into the corresponding field in the plugin settings. Complete the other fields and click “Save changes.” Once everything is set up correctly, you can send a test email (using the button next to “Save changes”). Send an email to your address and check your inbox.
Sending emails with a template
You won’t see a field for the template ID in the Maileroo plugin settings. To enable this feature, we’ll need to make some adjustments “under the hood.” The Maileroo plugin has a WordPress filter hook we can use to activate the template functionality.
Here’s the necessary code. This snippet disables the default mail text and makes a slightly different API call instead. Replace the placeholder (123) with your template ID and add the code to the functions.php file of your WordPress child theme.
Sending your first email with a WordPress email template
The email template feature is only applied to plain text emails, including:
- WordPress emails (new account, password reset, update notifications, etc.)
- Confirmation emails triggered by contact form submissions (Elementor forms, HTML forms, CF7, Divi forms, etc.)
- Other messages sent by plugins like NinjaFirewall or Broken Link Checker
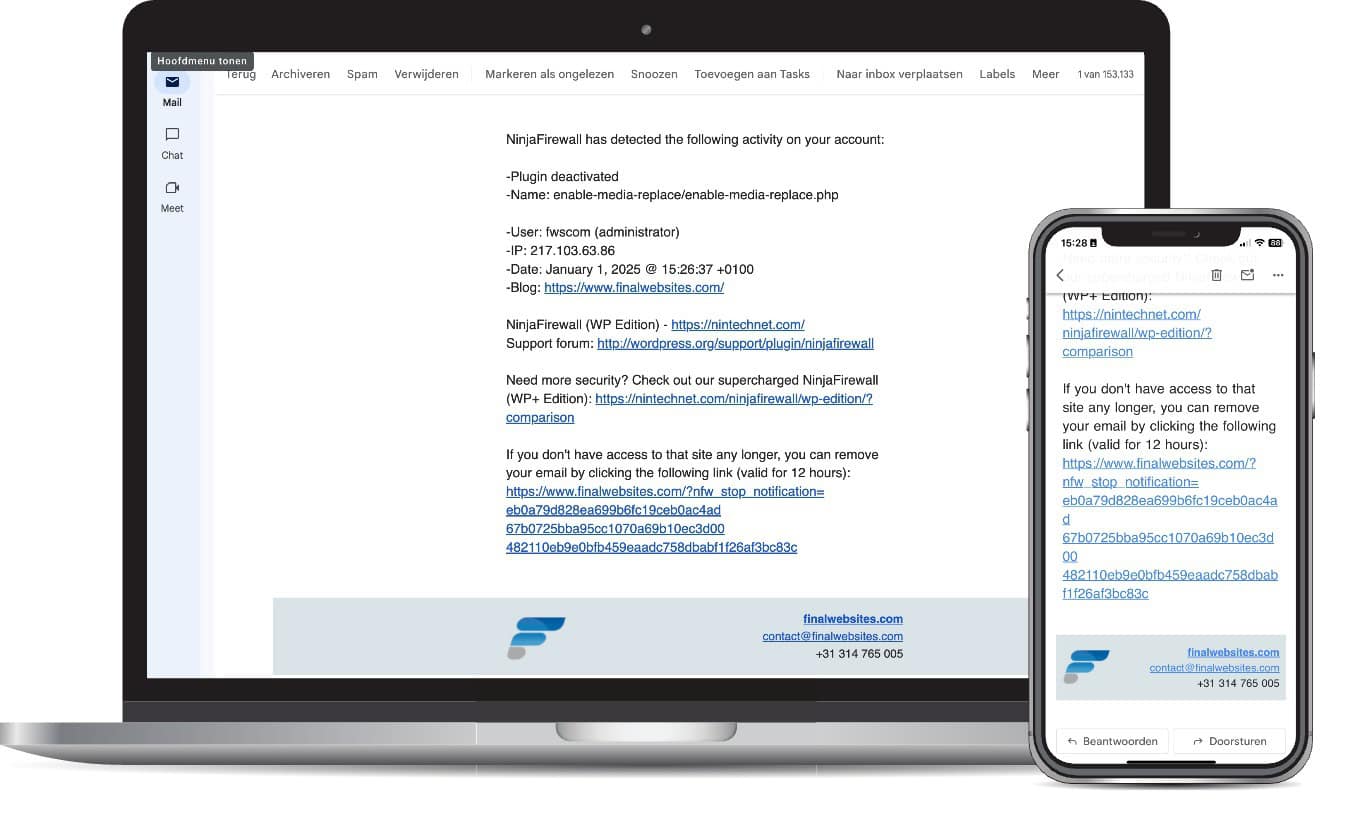
Emails already formatted with HTML, such as those sent by WooCommerce, remain unchanged. Curious about the results? Submit a contact form on your website or trigger a password reset email to yourself.

Email template viewed on desktop and mobile
Published in: Tutorials