If you want to create easily and safely backups for your WordPress websites, UrBackup is on of the best choices. This open source software makes incremental backups and gives you the possibility to restore a backup super easily. For an entire site or individual files.
The default installation of UrBackup installs its own HTTP server and does not have an option for SSL. In addition, you must always add the port number to the URL for the web interface.
The UrBackup manual has examples for configuring SSL for the web interface, but only for Lighttpd and Apache.
This small manual shows how to set up the UrBackup web interface with SSL via NGINX.
First install NGINX
We assume you have installed UrBackup on an empty Ubuntu server. In this case you must first install NGINX.
apt-get install nginx
Create your SSL certificate
For your backup server, it makes sense to let Let’s Encrypt generate your SSL certificate. Before installing the Certbot package, it is important to open port 80 and 443. This is necessary so that Certbot can retrieve your certificate. To further protect the web interface, we will add extra lines to your NGINX configuration file later.
Certbot for Ubuntu
On the Certbot website it is recommended to install the package via “snap”.
Install Certbot
snap install --classic certbot
Prepare the Certbot command
ln -s /snap/bin/certbot /usr/bin/certbot
Create your certificate
certbot certonly --nginx
Certbot will then ask you for which domain or hostname the certificate should be created. Enter the domain name for the web interface of your UrBackup server here.
Test automatic renewal (optional)
certbot renew --dry-run
Create the NGINX host file
YOURHOSTNAME is the domain name that you also used for your SSL certificate. Create a new configuration file with:
nano /etc/nginx/sites-available/YOURHOSTNAME
Paste this configuration and replace the different placeholders.
Enable your host file
The command below creates a link with the host file in the directory “sites-enabled”
ln -s /etc/nginx/sites-available/YOURHOSTNAME /etc/nginx/sites-enabled/
Next restart NGINX
nginx -s reload
Configure the web interface
Open the interface in your bowser via https://YOURHOSTNAME (without the port number)
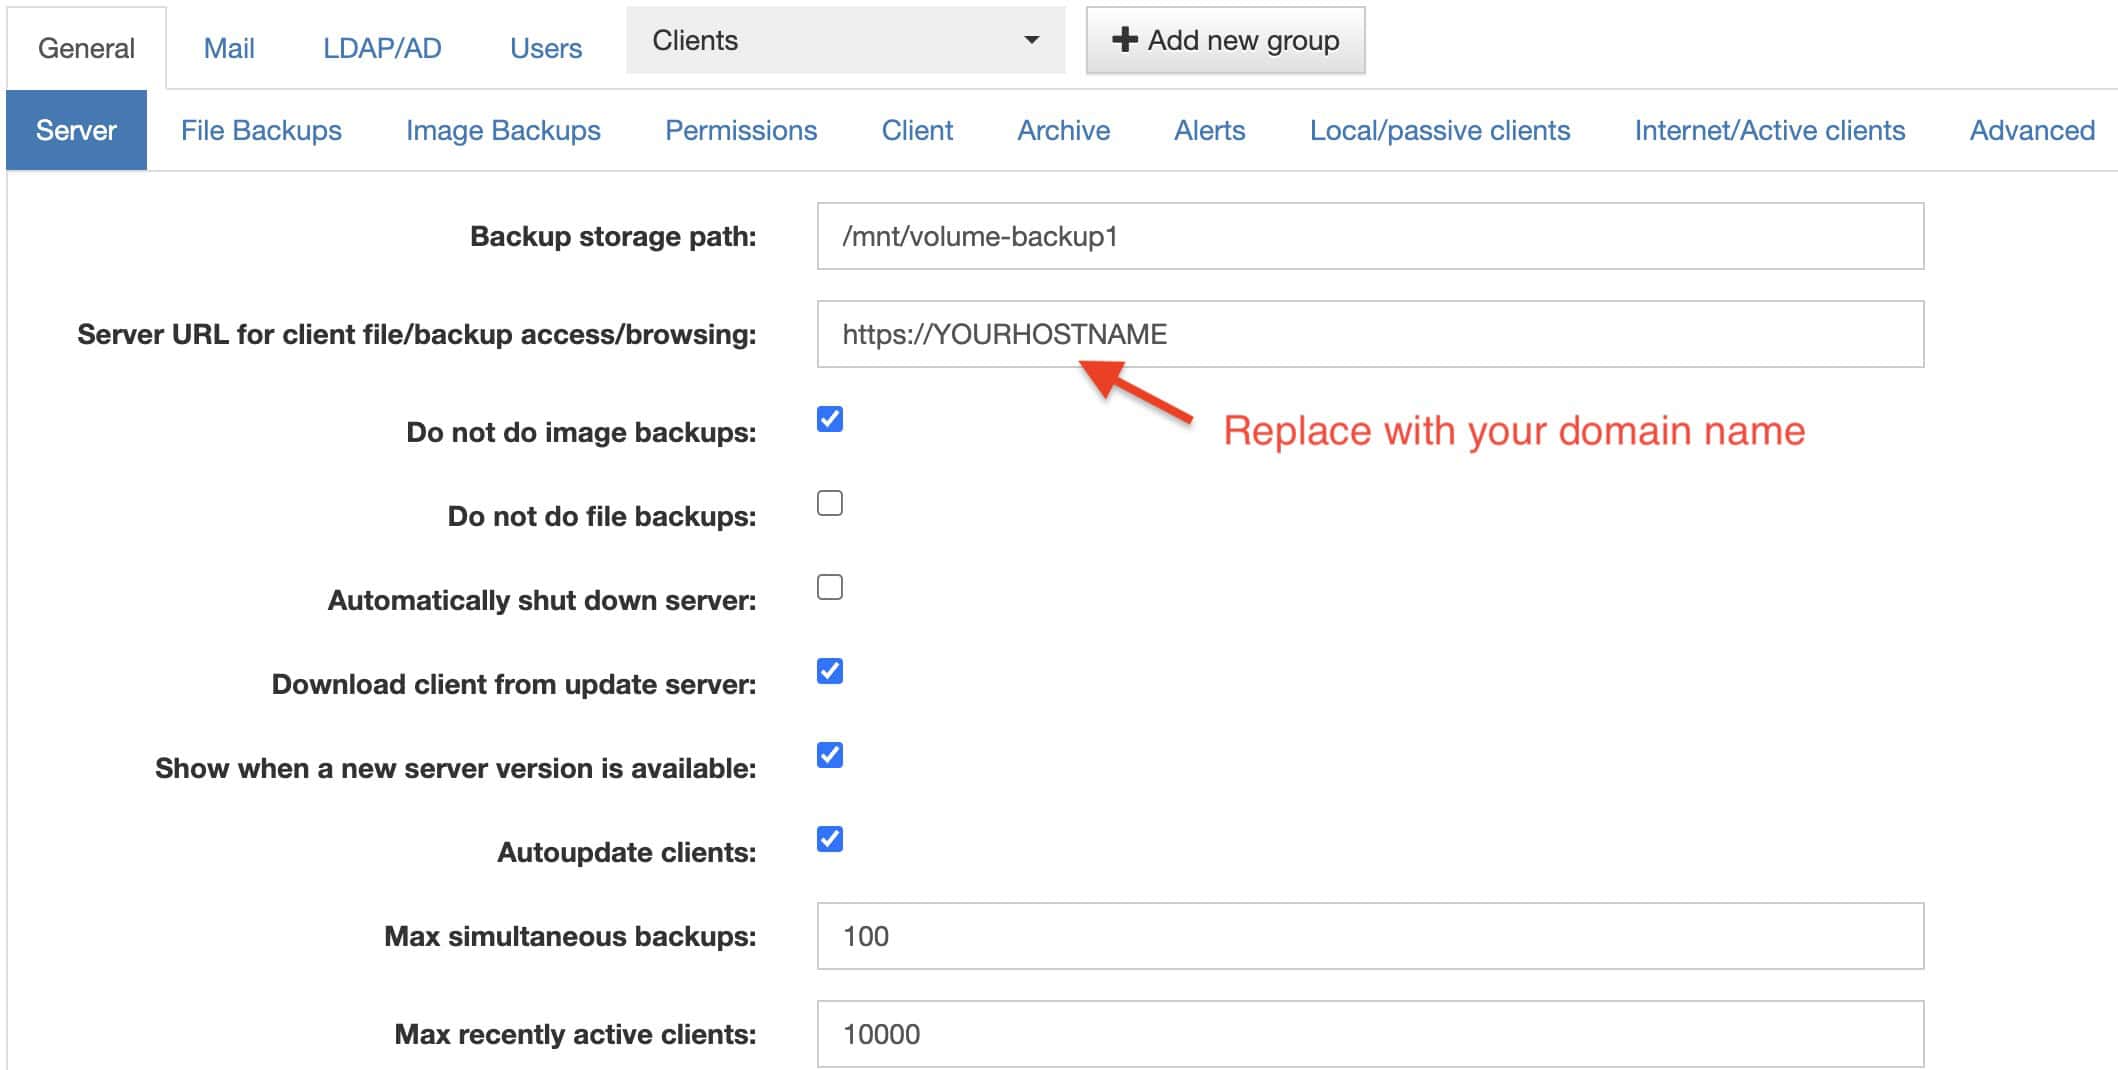
Login and continue to Settings > Server and enter your domain name.
UrBackup settings screenshot
Final steps
Disable the default UrBackup HTTP server via
nano /etc/default/urbackupsrv
Place a “#” before “HTTP_SERVER=“true”” and restart UrBackup with:
service urbackupsrv restart
Published in: Tutorials