In addition to the backups made by your web hosting provider, it’s beneficial to have your own backup function. This way, you have more control over when exactly a backup is made and you can perform backups independently.
WordPress backup plugins and tools
For WordPress websites, various backup plugins are available. Most plugins offer a good backup function. When choosing such a plugin, it’s important to ensure you can restore a backup safely and quickly. Our own experience is that the restore function often works less well or is even unavailable.
At finalwebsites, we use two different options to backup our own websites and those from our clients:
Our own backup tool: Backup4WP
With this tool, you can create and restore backups outside the WordPress dashboard very quickly. So, if your website stops working after an update, you can still restore it with Backup4WP. Since it’s not a WordPress plugin, you can’t download and install this tool via the WordPress repository. There are other ways, which will be explained later in this guide.
The plugin: All-In-One WP Migration
You can download this plugin for free from the WordPress repository. With it, you can create unlimited backups of your website and restore backups up to a certain size. If you want to restore a backup with the free version, you must first download the backup file. The free version also has a file size limit for importing backups, which is displayed on the import screen. You can upgrade to a paid version to remove these limitations.
When should you make an (extra) backup?
As mentioned earlier, your web host periodically makes backups of your website, but there are situations where a quick and flexible backup is more advantageous. These include:
- Before performing WordPress updates
- Making significant changes to your website
- When you want to save or download a copy of your website
Creating a backup with Backup4WP
Backup4WP is not a WordPress plugin but a tool installed alongside your website. There are several ways to install it:
New: Using the WordPress plugin
Recently it has also become possible to install Backup4WP using a plugin. In addition to the installation function, the plugin also offers a function to put the website in maintenance mode. Download the plugin via the Backup4WP website.
Using Composer
If you have console access to your website, installation with Composer is quick and easy. Run this command in your website’s “public” directory:
composer create-project finalwebsites/backup4wp:dev-master mybackup
All files will then be installed in the “mybackup” directory.
Uploading files via sFTP
Download the zip file from this page and unzip it on your computer. Rename the folder (e.g., “mybackup”) and upload it to your website’s “public” directory using your sFTP program.
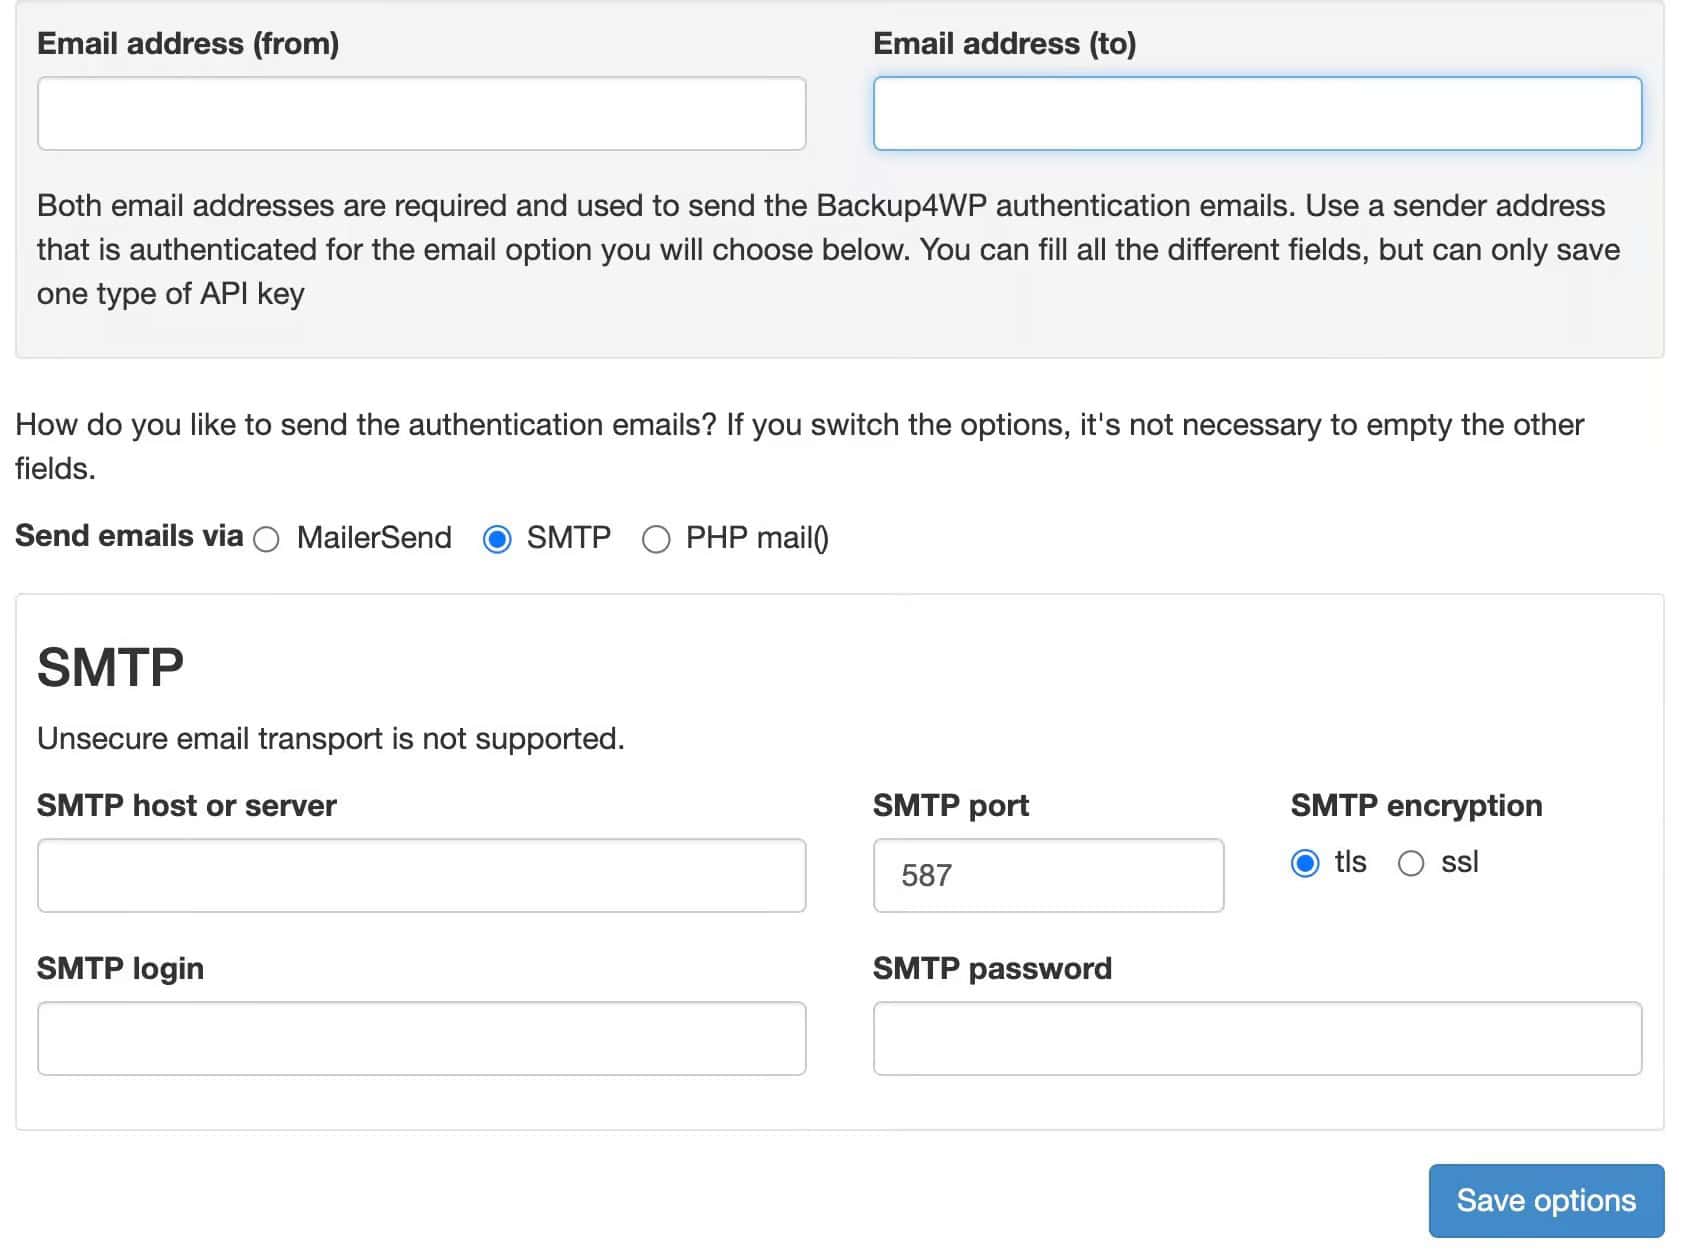
Backup4WP – Setup email configurations
Configuring and running Backup4WP
Visit the Backup4WP installation page at https://yourdomain.com/mybackup. On the configuration screen, you’ll be asked to set up the email function, which is needed to control access to the tool. Choose one of the first two options and click “Save options.”
This setting restricts access to your backup page to those who have clicked a registration link sent via email. Check your email, click the link, and you’ll have access to the page for four hours to manage your website backups.
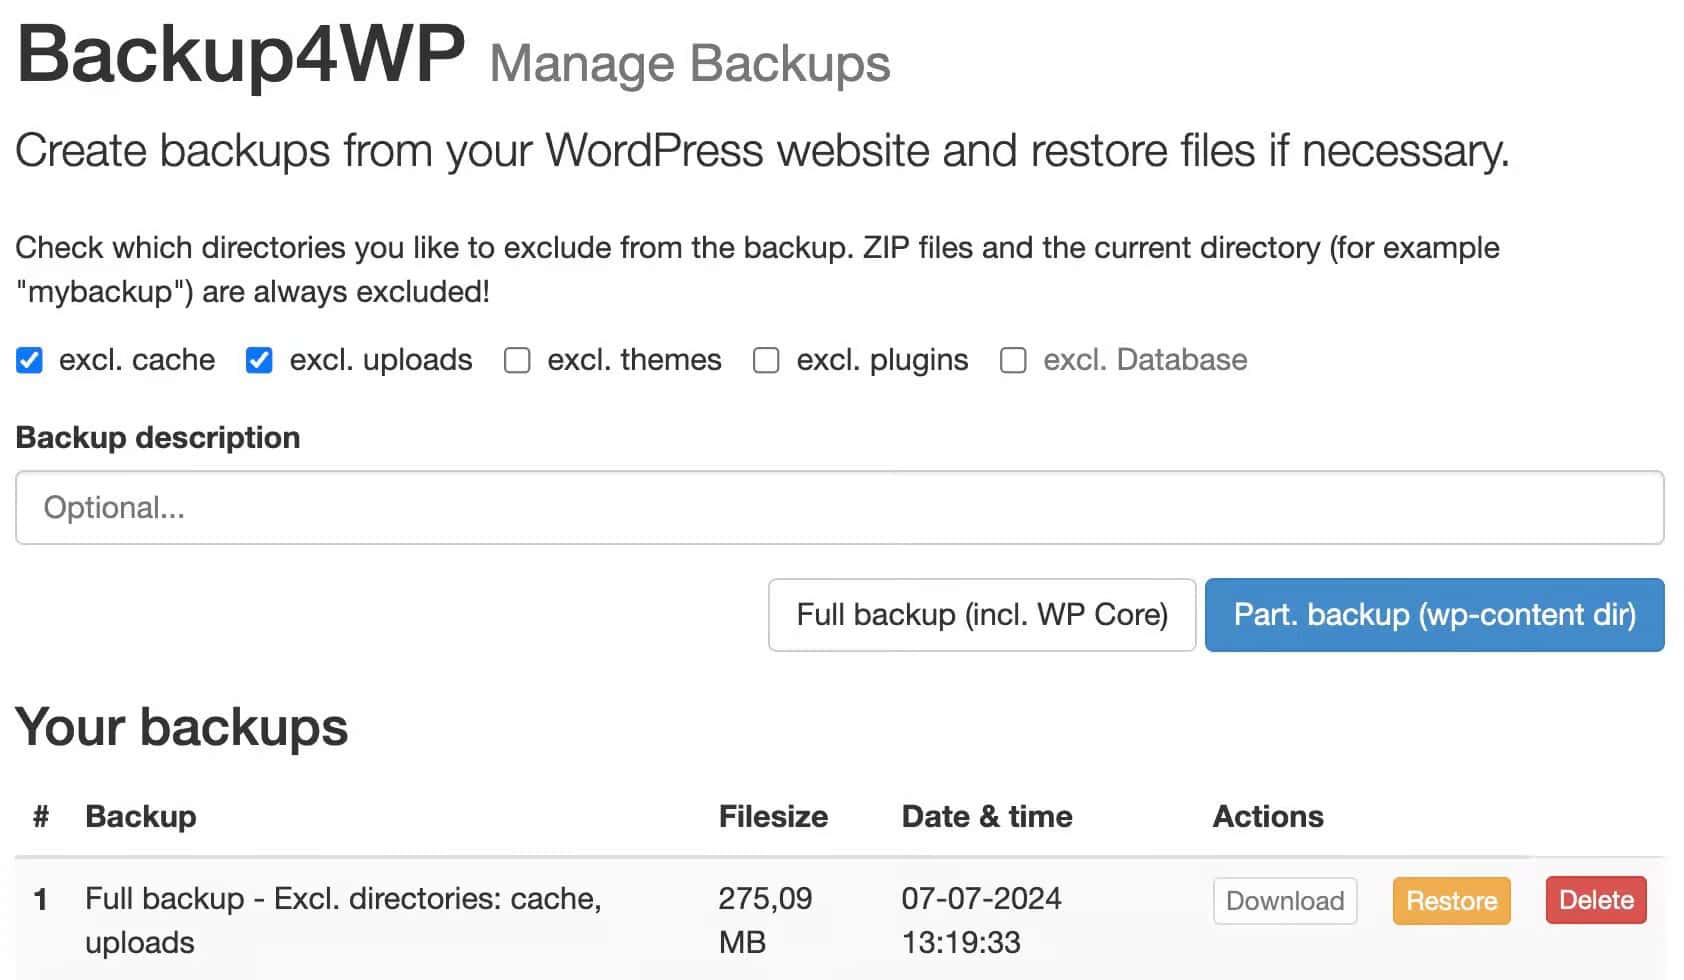
Backup4WP – Managing backups
If you find Backup4WP too technical and prefer using a plugin, choose All-in-One WP Migration.
Backups with the plugin All-in-One WP Migration
In the WordPress dashboard, go to Plugins > Add New. In the search field, type “all in one WP” and wait for several plugins to appear. Click “Install Now” next to All-in-One WP Migration (make sure it’s the correct plugin) and then “Activate.” The plugin is now active on your WordPress website.
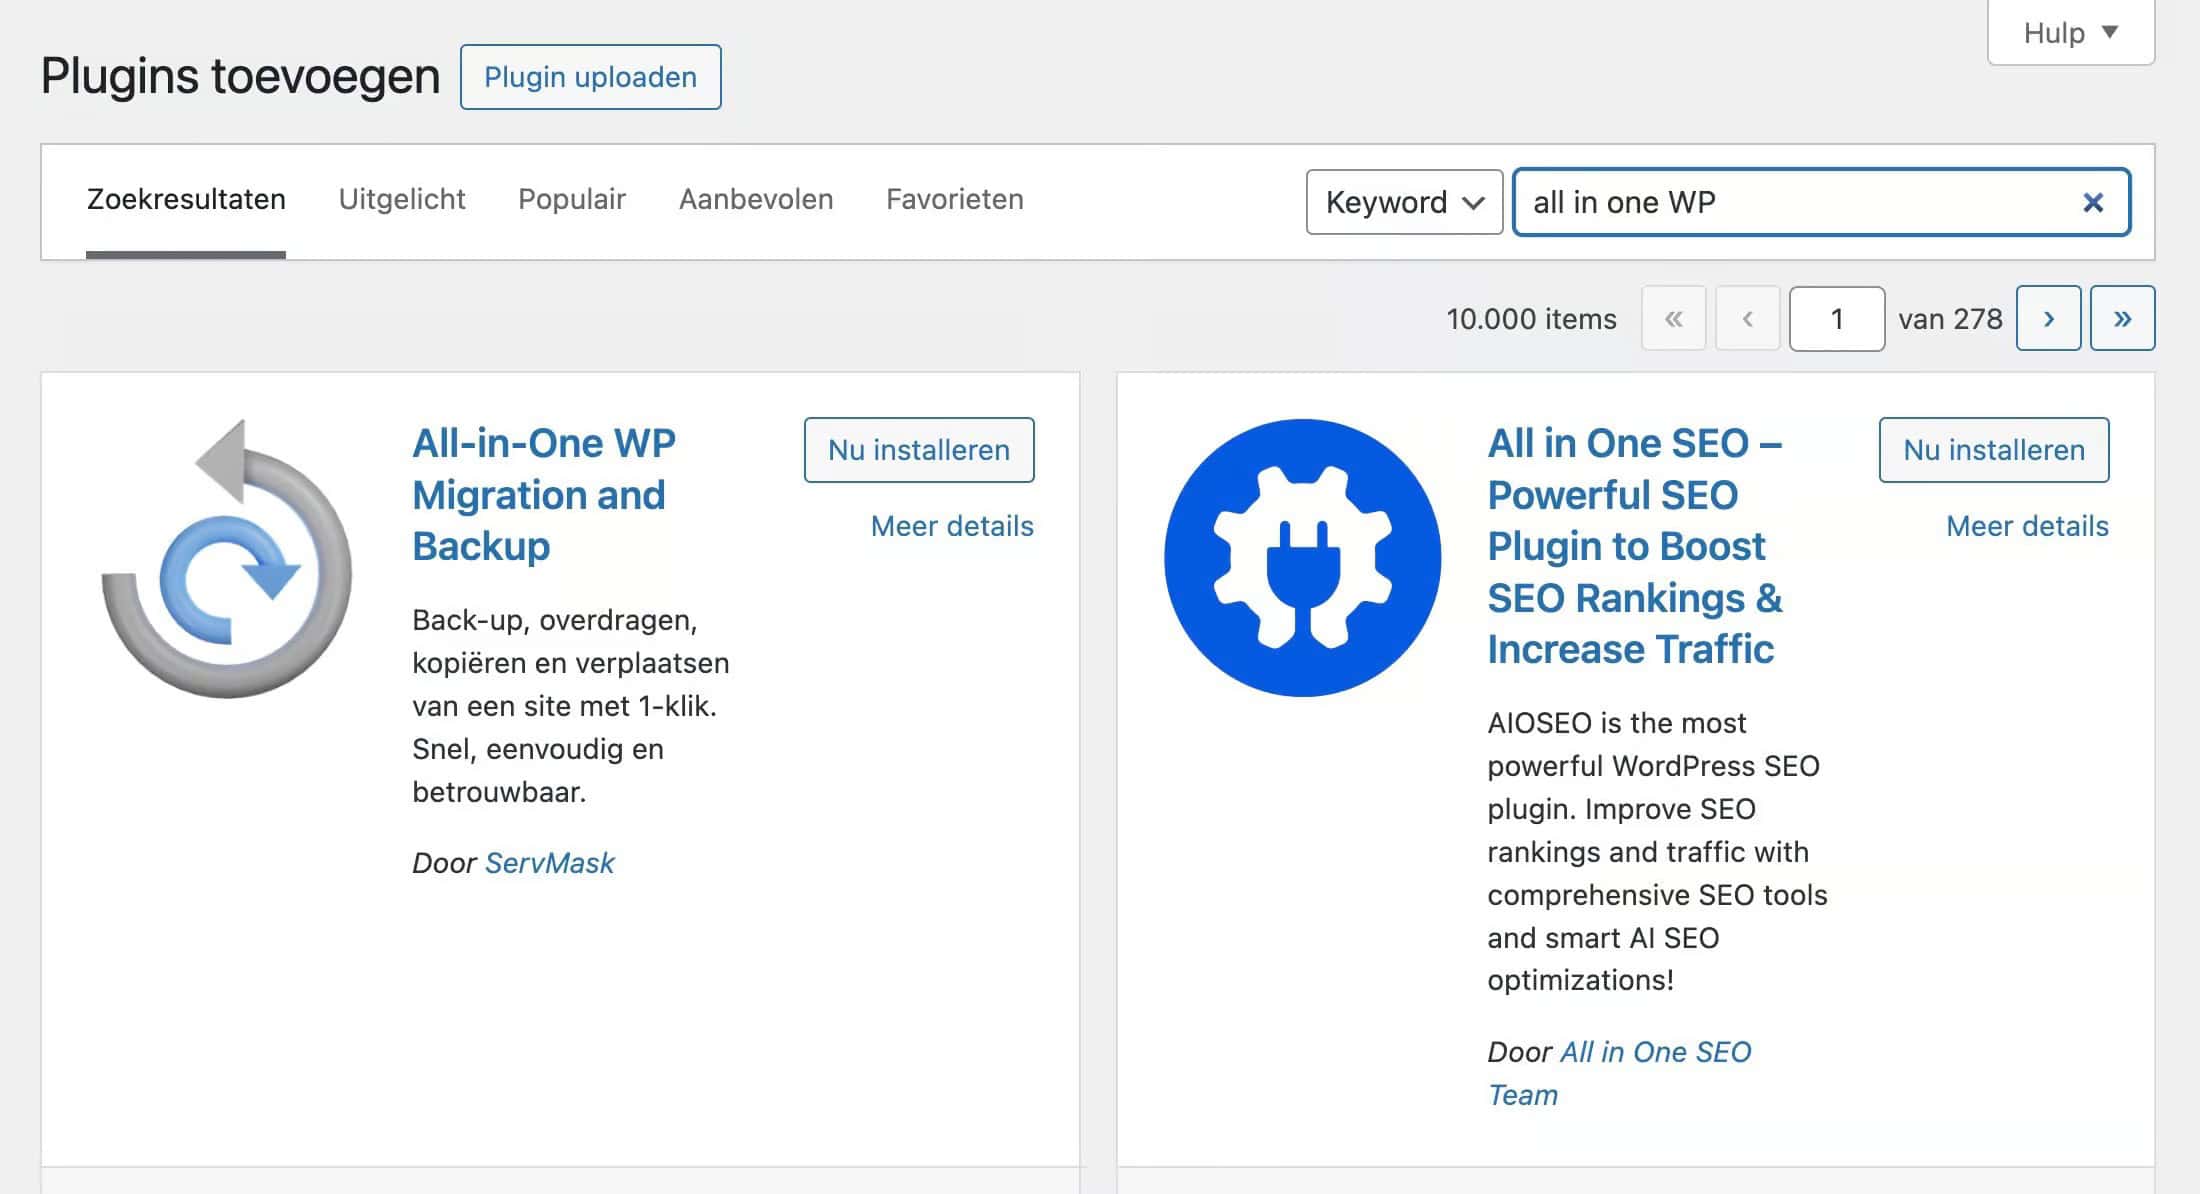
All-in-One WP Migration – Plugin installation
Creating a backup
In the WP dashboard menu, click All-in-One WP Migration > Export and choose “File” from the export menu (the other options are not available in the free version). The backup process will start, and you can monitor the progress via a pop-up window. Do not close this window, as the backup otherwise won’t complete.
At the end, you can download the backup file, but it’s not always necessary since the file is also stored on the server. If you want to download it later, you can do so via the dashboard under All-in-One WP Migration > Backups (the green icon).
Restoring a backup
To restore a backup with the free version, you need to download the backup file first and then import it again. This process might seem cumbersome, but given the file size limitation, it’s usually quite fast with the free version. During the import process, you’ll need to confirm twice. Once the import is complete, you can close the pop-up window and log in again.
Using a backup download for your test site
If you want to make extensive changes or notice that a WordPress update isn’t going well, it’s better to work with a test site. You can do this by installing WordPress in a subdirectory and also installing the All-in-One WP Migration plugin there. Import the backup file from the live site, and you can work on the test site without any adjustments.
Alternatively, you can set up your test site using a subdomain or install a copy of your website with Local WP on your laptop.
Is your backup file larger than the max limit?
The free version of All-in-One WP Migration has a file size limit for backups, dependent on the PHP setting upload_max_filesize. Larger backups can be created, but restoring them requires a paid extension. You can purchase an “Unlimited” upgrade from the Servmask website.
Gepubliceerd in: Tutorials